


WolfNote Integration
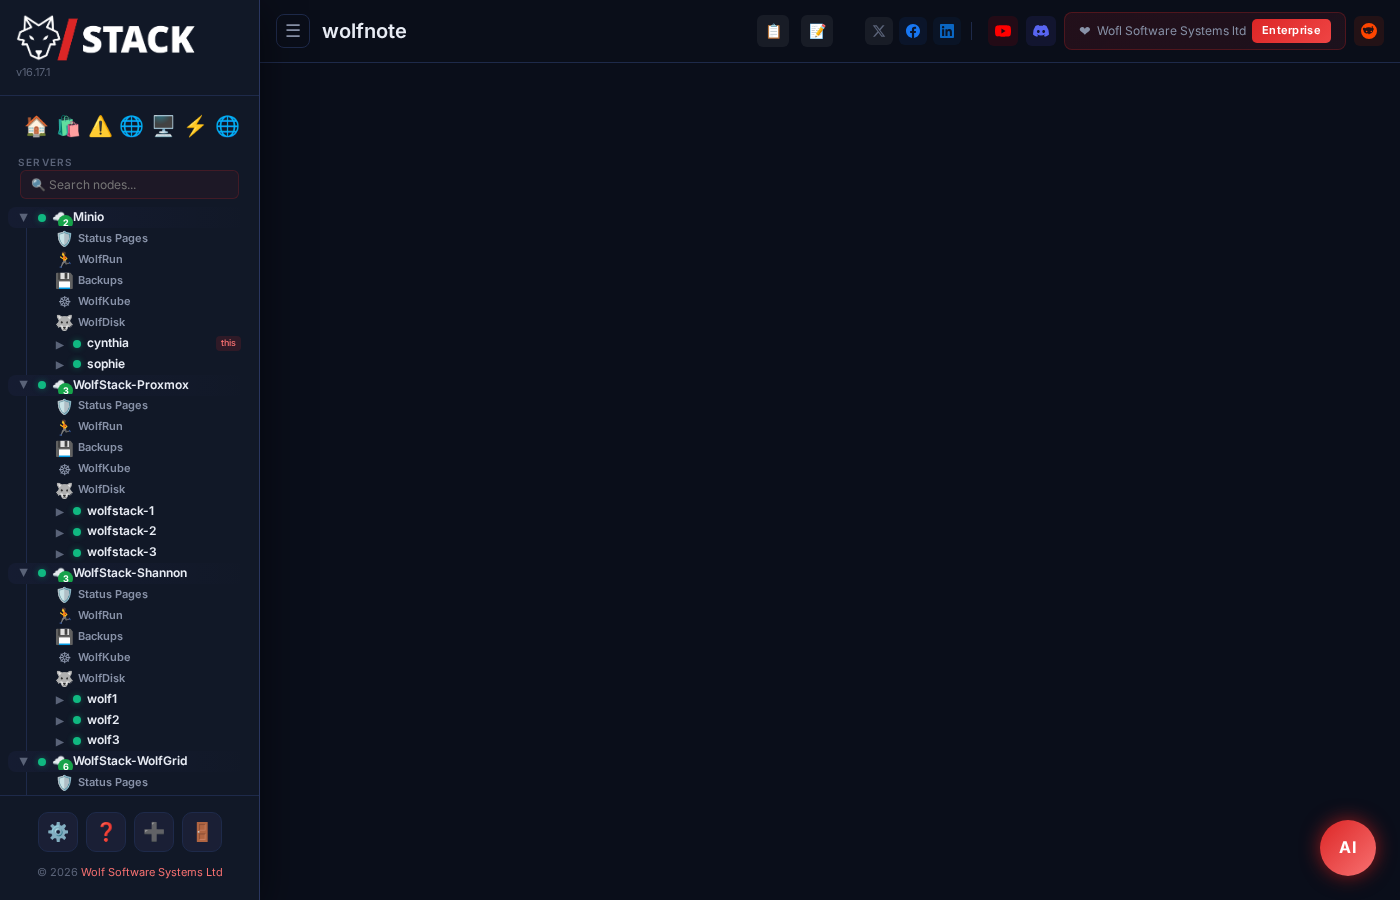
WolfStack integrates directly with WolfNote, a self-hosted note-taking app by IntelligentWolf. Connect your WolfNote account and WolfStack will automatically document your infrastructure — AI-generated reports, event logs, incident notes, backup results, and one-click captures of any dashboard view.
Video Walkthrough
See the WolfStack × WolfNote integration in action:
Connecting to WolfNote
- In the WolfStack dashboard, go to Settings → WolfNote
- Enter your WolfNote instance URL (defaults to
https://app.wolfnote.org) - Enter your WolfNote company name, username, and password
- Click Connect — WolfStack authenticates and stores a JWT token locally
Once connected, you’ll see your WolfNote username, a list of your folders and recent notes, and toggles for each integration feature.
https://notes.internal:3000).Integration Features
Each feature can be independently toggled on or off, and each has its own folder selector so notes are organised exactly how you want them in WolfNote.
| Feature | What It Does | Default |
|---|---|---|
| AI Note Creation | The AI Agent can create notes in WolfNote when answering infrastructure queries — ask it to “write a note about the current disk usage” and it saves directly to your chosen folder | On |
| Event Logging | Automatically log server events (node join/leave, service restarts, config changes) as timestamped notes | Off |
| Incident Notes | When a Status Page incident is created or resolved, a note is automatically added with full incident details | Off |
| Backup Logs | Each backup run (success or failure) is logged as a note with target, destination, size, and duration | Off |
| Alert Notes | When an alert fires or clears, a note is created with the metric value, threshold, and affected node | Off |
One-Click Page Capture
When connected to WolfNote, a Save to WolfNote button appears in the WolfStack top bar. Click it from any dashboard view to instantly capture the current page as a clean, professional sysadmin report in WolfNote.
What Gets Captured
- Tables — resource usage, container lists, storage status, and any other tabular data on the page
- Charts & metrics — CPU, memory, disk, and network graphs are captured as summary data
- Layout sections — div-based card layouts (storage pools, network interfaces, etc.) are extracted cleanly
- Page context — the note title includes the node name and view name so you know exactly what was captured
Captured notes are saved to the AI Notes folder (configurable in Settings) and open directly in WolfNote when clicked.
Folder Management
From the WolfNote settings panel in WolfStack, you can:
- Browse folders — see your full WolfNote folder hierarchy with colour indicators
- Create folders — add new folders with custom colours directly from WolfStack
- Assign per-feature folders — choose which folder receives notes for each feature (AI, events, incidents, backups, alerts)
- Quick notes — create ad-hoc notes with a title, content, and folder from the settings panel
How It Works
WolfStack acts as a proxy between your browser and WolfNote:
- Authentication — WolfStack sends your credentials to WolfNote’s
/api/auth/loginendpoint and stores the returned JWT token in/etc/wolfstack/wolfnote.json - API proxy — all WolfNote API calls from the frontend go through WolfStack’s backend, which adds the JWT token and forwards to the WolfNote instance. This avoids CORS issues and keeps the token out of the browser.
- Auto-creation — background tasks (backups, alerts, status page monitors) create notes via the same API client when their respective feature toggle is enabled
Config is stored at /etc/wolfstack/wolfnote.json and synced across cluster nodes like all other WolfStack configuration.