Watch: multi-server clustering
How servers appear grouped by cluster, adding a node, and what spans the fleet. The written steps are below.
Overview
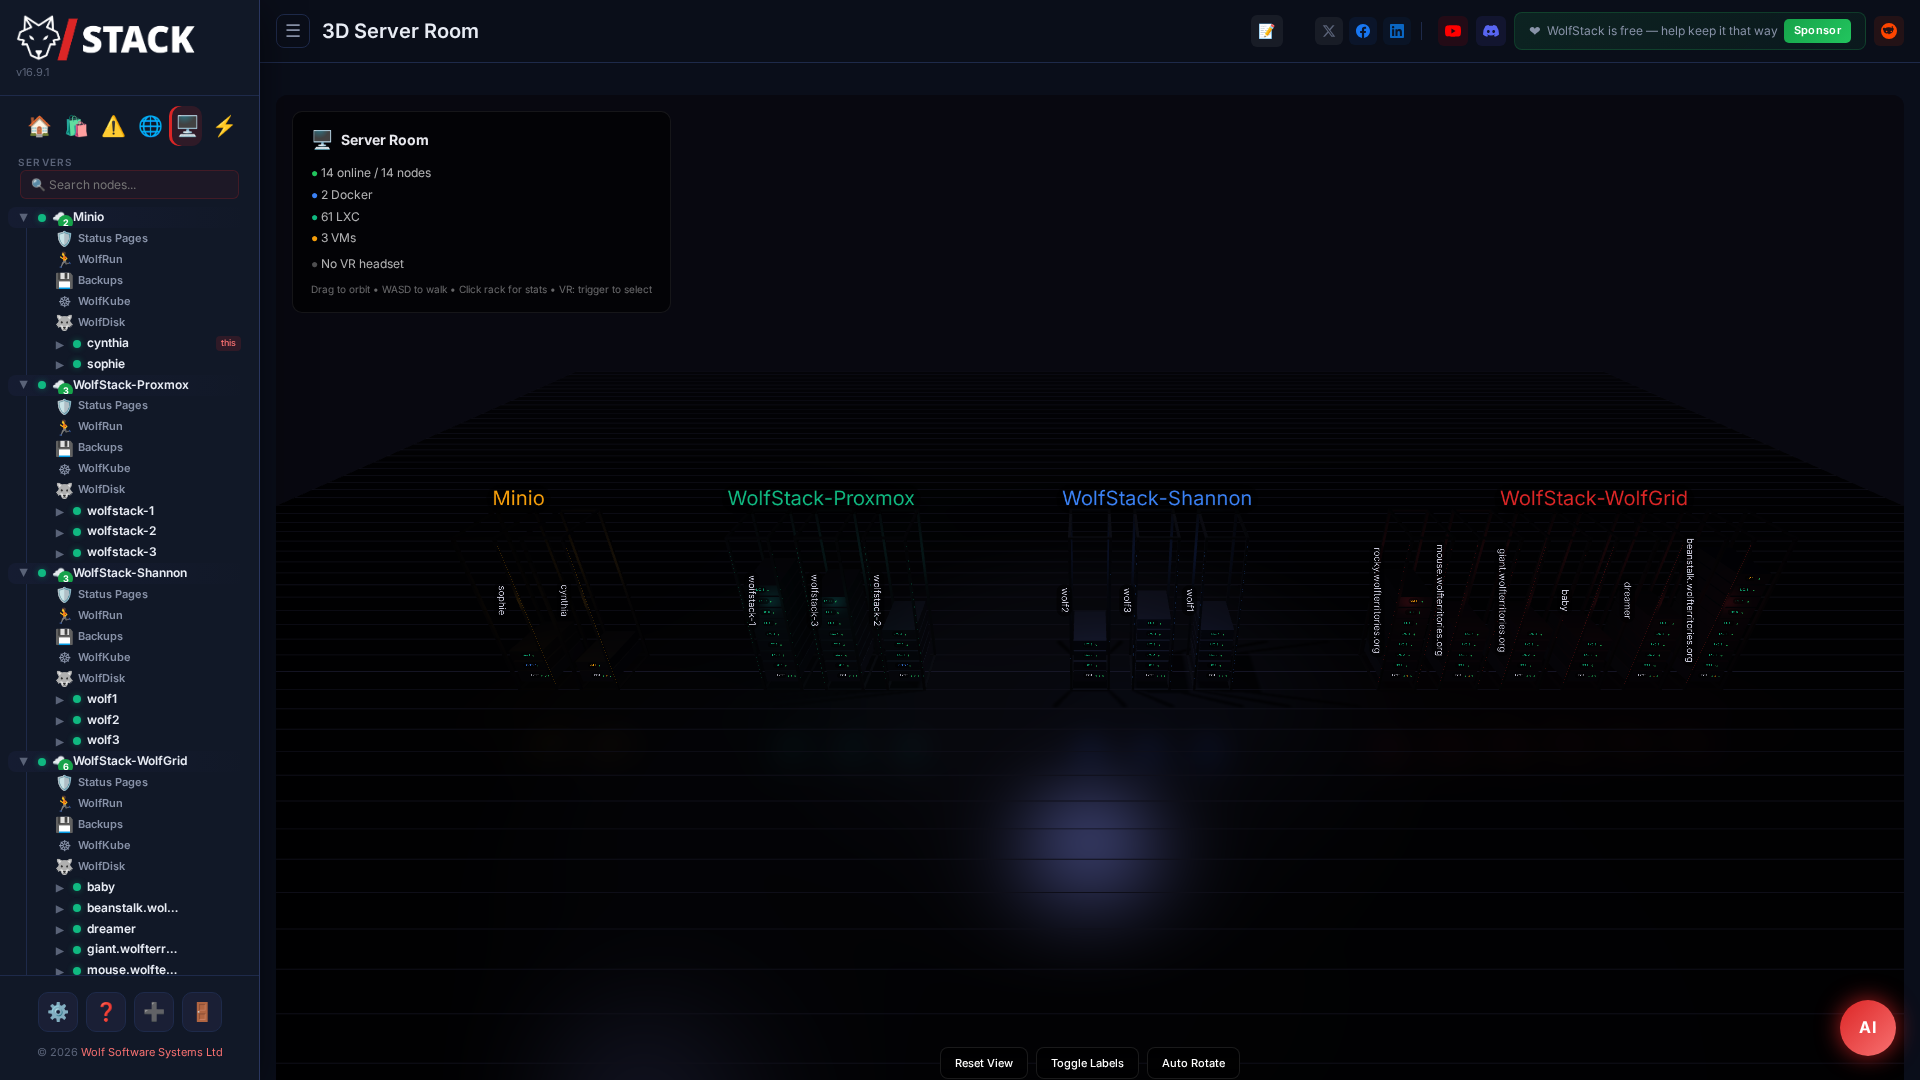
WolfStack’s clustering feature lets you group servers into logical clusters and manage them as a single unit. Add WolfStack nodes, Proxmox servers, or a mix of both.
How It Works
- Install WolfStack on each server you want to manage
- Log in to any one server’s web UI
- Click + to add nodes by entering their join token
- Click 🔗 Update WolfNet Connections to set up encrypted networking
Features
- Multiple clusters in one dashboard
- Fleet-wide metrics and health monitoring
- Cross-cluster container migration
- Centralised settings and configuration
- Log into any node, see everything — cluster membership and WolfStack user accounts replicate across the fleet, so every node's dashboard shows the whole estate and your login works everywhere. No "primary" node to keep alive.
- Node health checks with automatic offline detection
- Per-cluster WolfNet configuration
Default Cluster Name
When you install WolfStack on your first node, it automatically creates a cluster called “Wolfstack”. This is just a virtual label — it does not affect functionality in any way. You can rename it to anything you like:
- Click on your cluster name in the sidebar
- Go to Settings
- Edit the Cluster Name field and save
All your nodes will continue to work exactly the same regardless of the cluster name.
Adding Nodes
Node Type Is Auto-Detected
When adding a new node to your cluster, you may be asked to select a node type (e.g. WolfStack or Proxmox). Don’t worry about which type you choose — WolfStack automatically detects whether a node is running Proxmox and adjusts accordingly. The type is just a label and can be changed at any time.
Nodes Not Seeing Each Other?
After adding nodes to a cluster, they may not immediately see each other over WolfNet. To fix this:
- Click on your cluster name in the sidebar
- Go to Settings
- Click Update WolfNet Connections
This tells all nodes in the cluster about each other and establishes encrypted WolfNet connections between them. It will also propagate to all other nodes automatically. You only need to do this once after adding new nodes — if all your nodes are on the same local network, they will discover each other immediately.